Most hikers hold trekking poles wrong from the first step: hand over the strap instead of up through it, poles the same length on every grade, arms swinging like they are carrying grocery bags instead of driving into the ground. Learning how to use trekking poles for hiking comes down to fixing the strap, the length, and the rhythm; the rest mostly takes care of itself.
None of this is complicated once you see it done right, but almost nobody explains it in the order it actually matters. Get the grip wrong and the wrist strap, sold to protect your joints, is the thing that sprains a thumb on a fall.
The sections below go in the order to actually learn them: hands first, then length, then the walking rhythm that makes poles worth the weight in your pack.
Get the Strap Grip Right First
Thread your hand up through the bottom of the strap loop, then close your grip around it and the pole handle together. The strap should sit under your palm, not wrapped around your wrist, so a fall lets go instead of yanking your thumb sideways.
This is the single most-skipped step, and it is why so many hikers look like they are sword fighting passersby instead of walking with poles. Grabbing the handle bare-fisted, strap dangling loose, means your hand does all the gripping work for hours and cramps by lunch.
Done correctly, the strap takes the load and your fingers barely need to close. Rest your wrist against the strap on the downstroke, let the pole push back up into an open hand, and re-grip lightly for the next plant. Your forearms will thank you three miles in.
Adjust the strap, not just the pole
Most poles have a strap-length adjustment separate from the pole-length lock, and almost nobody touches it. Too loose, and your hand slides forward on every plant; too tight, and you lose the quick-release that keeps a fall from wrenching your wrist.
Set it so two fingers fit between your wrist and the strap when your hand is threaded through. Recheck it once you add or remove gloves, since glove thickness changes the fit more than people expect.
Grip material changes the feel more than the brand does
Cork grips wick sweat and slowly mold to your hand shape over weeks of use, which is why they show up on most higher-end poles. Foam grips cost less and insulate better in cold weather, but they compress and start looking worn within a season.
Rubber grips shed moisture best in cold, wet climates, though they blister bare skin faster on a hot afternoon than cork or foam will. None of the three changes how you thread the strap or plant the pole, so pick by climate and hand comfort instead of chasing whichever material a review called premium.
Set Your Pole Length for the Terrain
Start with your elbow bent at roughly 90 degrees while standing on flat ground with the pole tip touching the dirt beside your foot. From that baseline, shorten the poles 5 to 10 centimeters for climbs and lengthen them the same amount for descents.
Fixed-length poles force a compromise; adjustable ones let you match the terrain instead of fighting it. A pole that is right for a flat approach trail turns into a liability on a steep switchback, jamming your wrist upward with every plant.
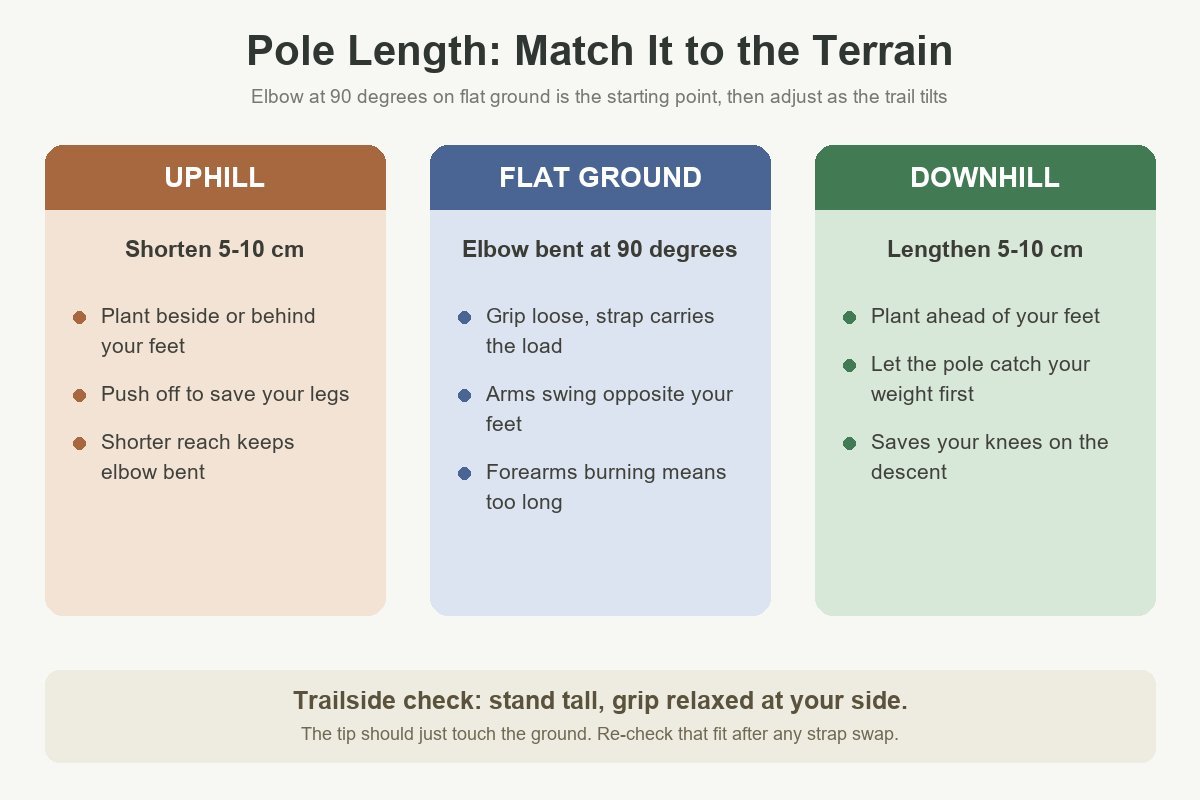
On rolling terrain with grade changes every few minutes, most hikers skip the constant readjusting and just split the difference, favoring the flat-ground setting and accepting a slightly awkward plant on short pitches. Save the full adjustment for sustained climbs or descents of 10 minutes or more.
Quick length reference by height
If you would rather start from a number than from feel, a height-based chart gets most hikers within a centimeter or two of the elbow-bend test. Use the table below as a starting point, then fine-tune with the 90-degree check on flat ground.
| Your height | Flat-ground pole length |
|---|---|
| Under 5’2″ (157 cm) | 100-105 cm |
| 5’2″ to 5’6″ (157-168 cm) | 105-110 cm |
| 5’6″ to 5’10” (168-178 cm) | 110-120 cm |
| 5’10” to 6’2″ (178-188 cm) | 120-125 cm |
| Over 6’2″ (188 cm) | 125-130 cm |
Torso length throws the chart off more than most people expect, so treat these ranges as a starting point rather than a rule. A long torso on a shorter pair of legs usually needs a size up from what height alone suggests.
Flick locks beat twist locks in most conditions
Poles lock their length with either an external flick lever or an internal twist mechanism, and the flick lock holds up better once grit gets involved. Twist locks can seize when dust or fine sand works into the threads, turning a trailside adjustment into a wrestling match.
“mate just get the cascade mountain tech carbons off amazon, ive put mine through absolute hell and theyre still going strong at half the price of those lekis for peru you want flick locks not twist locks, the twist ones seize up with dust and are a nightmare to adjust when your hands are cold. cork grips are nice but foam works fine too”
– r/CampingandHiking, July 2026 (8 upvotes)
Cold hands make the point sharper. Fumbling a twist lock with numb fingers at a windy pass is a worse problem than the few extra grams a flick-lock pole sometimes carries.
Learn the Gas-Brake-Coast Rhythm
Trekking poles work like a second set of legs when your arms move opposite your feet: left pole plants as your right foot steps forward, right pole plants as your left foot steps forward. On flat ground this is coasting, and the poles mostly just help with balance and pace.
The rhythm changes job on grades. Going up, each pole plant becomes a small push, or gas, that takes weight off your quads right when the climb wants it most. Going down, each plant becomes a brake, catching part of your body weight before your knee has to absorb it alone.
Thinking of the three modes separately, gas for climbing, coast for flat sections, brake for descending, makes the switch automatic within a day or two of practice. Most hikers who say poles “feel weird” quit before that rhythm clicks.
The first ten minutes on a new pair usually feel clumsy, arms and legs fighting each other instead of trading off. Slow down, exaggerate the opposite-arm swing for the first quarter mile, and the rhythm settles into something you stop thinking about.
Uphill: Plant Behind and Push
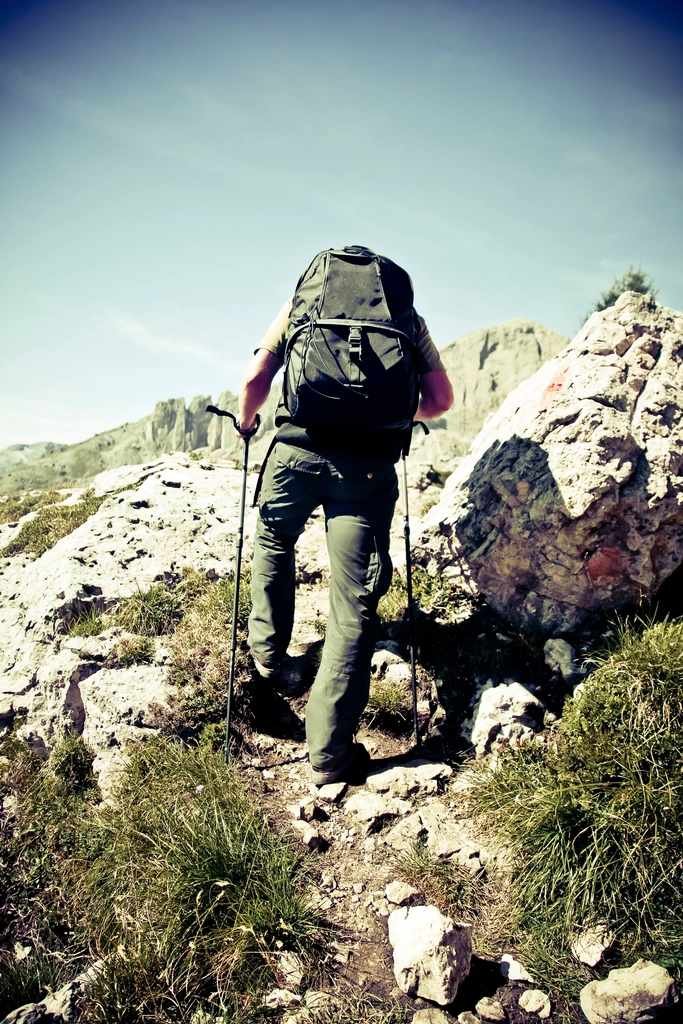
Shorten your poles, plant the tips beside or slightly behind your feet, and push down and back as you step. The push should come from your shoulders and arms driving the pole, not just your wrist flicking it forward.
On steep sections, choke up on the pole by gripping below the handle and planting higher on the slope for a stronger push. This trades a little reach for extra shove on the parts of a climb where your legs are already working hardest.
Switchbacks are the one spot poles slow people down if they overthink it. Plant on the uphill side of your body through the turn and let the outside pole trail; trying to keep both poles perfectly symmetric through a tight switchback just breaks your rhythm.
On a sustained climb, match your pole plants to your breathing instead of your steps. Two steps per breath with a plant on each is a pace most hikers can hold for an hour without blowing up, and it keeps the push from your arms in sync with the effort from your legs.
Downhill: Plant Ahead and Brake
Lengthen your poles, plant the tips ahead of your feet, and let the pole take part of your weight before your leading foot lands. This is where trekking poles earn their keep, since every ounce the poles catch is an ounce your knees do not.
A steep, loose descent is exactly the terrain that convinces skeptics. One hiker describing a decades-old knee injury put it plainly after trying poles on a hard downhill:
“I avoided using trekking poles for years because I thought they were just extra clutter to carry around. After trying them on a steep descent down Helvellyn, I noticed a huge difference in how my knees felt the next morning. I know plenty of hikers who still prefer keeping their hands free, though. Where do you stand on using poles for UK hill walking?”
– r/UKhiking, July 2026 (37 upvotes)
The relief shows up the next morning more than on the trail itself, which is exactly why so many hikers dismiss poles after one flat-ground test walk and never give them a real descent to prove themselves on.
Keep your steps shorter than instinct suggests on loose or rocky descents. Poles let you slow your pace without losing balance, and a slower, controlled descent beats a fast one that ends in a slide.
Do not overcorrect by lengthening past the point where your shoulder has to shrug to reach the plant. A pole set too long turns the brake motion into shoulder strain, especially on a long descent where you make that same reach hundreds of times.
River Crossings, Scrambles, and Snow
Trekking poles turn into probes on terrain you cannot fully see through: shallow water, soft mud, and snow bridges. Tap ahead before committing your weight, especially on stream crossings where the bottom is hidden by current.
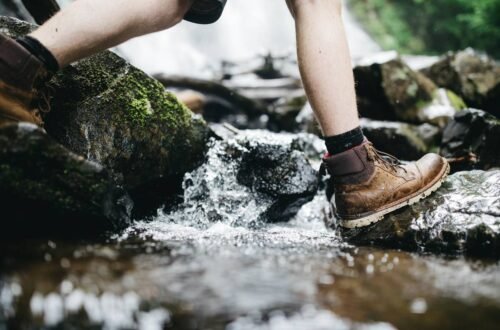
For a water crossing, unclip the wrist straps entirely. A pole caught on a submerged rock while your hand is locked into the strap is a bad trade if you go down in moving water.
On rock scrambles and any move that needs both hands, collapse the poles and stow them on your pack rather than trying to hike with them dangling from your wrists. Poles swinging loose while you grab a handhold are how people trip themselves or a hiking partner behind them.
Packed snow rewards the same probing habit that river crossings do, since a solid-looking surface can hide a soft pocket underneath. The basket, the small disc near the tip, keeps the pole from punching straight through snow or mud the way a bare tip would.
Ultralight backpackers often carry poles that double as tent supports for trekking-pole shelters, cutting separate tent poles out of the pack entirely. Check the shelter’s required pole length before buying poles if that is the plan, since most trekking-pole tents need a specific range to pitch taut.
Carry rubber tip covers for boardwalks, bare rock, and any trail surface where managers ask hikers to keep pole tips off. A bare carbide tip chips granite and gouges wooden trail structures over thousands of hikers doing the same thing.
Mistakes That Undo the Benefit
Most of the frustration hikers report with trekking poles traces back to five fixable habits, not a real flaw in the gear itself.
Bare-hand gripping with the strap flapping loose. Skipping the strap-thread step turns poles into extra weight your hand has to carry instead of a tool that carries some of your weight.
One length for the entire hike. A pole set for flat ground fights you on every sustained climb or descent; the adjustment takes ten seconds and pays for itself within a few hundred feet of elevation change.
Planting too far out to the side. Poles work best planted close to your body’s line of travel. Wide, splayed plants waste the push and throw off your balance instead of steadying it.
Carrying them collapsed the whole hike. Poles stowed in a pack strap do nothing for your knees. If the terrain is uneven enough to own poles for, it is usually uneven enough to use them.
Ignoring the baskets on soft ground. Pulling the small snow or mud baskets off to save a few grams means the tip sinks straight through soft trail edges, turning a helpful plant into a stumble.
Leaning on poles instead of building leg strength. Poles reduce joint strain; they do not replace a stronger stride. Hikers who prop up a weak leg on every step often end a hike with sore shoulders on top of the sore knees they started with.
When Trekking Poles Get in the Way
Hand-over-hand scrambles, tight brush, and short flat strolls are the three situations where poles cost more than they help. Stow them rather than forcing a tool onto terrain it was not built for.
Not everyone reaches for poles even on terrain built for them, and that preference is legitimate rather than a mistake:
“Every hiker uses these in the way that’s best for them, and that’s the way it should be. It doesn’t matter what I think or what you think.”
– r/hiking, July 2026 (29 upvotes)
Bouldery scrambles that need both hands free, dense brush that snags every plant, and short flat walks under a mile are the clearest cases for leaving poles in the car or clipped to your pack.
FAQ
What is the correct way to use trekking poles for hiking?
Thread your hand up through the wrist strap before gripping the handle, set your elbow near 90 degrees on flat ground, and swing the poles opposite your feet so the left pole plants with your right step.
Adjust the length shorter for climbs and longer for descents, and let the strap carry your weight instead of gripping the handle tightly all day. That sequence, strap first, length second, rhythm third, is the whole answer to how to use trekking poles for hiking without the trial and error.
How do you know the right trekking pole height?
Stand on flat ground, hold the pole with the tip touching the dirt beside your foot, and check that your elbow bends to about 90 degrees. That is your flat-ground baseline before terrain adjustments.
Most adjustable poles mark centimeter measurements on the shaft, so once you find your number, you can reset it by sight instead of re-measuring every trip.
Do trekking poles actually help your knees?
Yes, mainly on descents, where a properly planted pole takes part of your body weight before your knee joint absorbs the impact of each step down.
The relief is more noticeable the next morning than during the hike itself, which is why testing poles only on flat ground leaves people unconvinced of the benefit.
Should you use one pole or two?
Two poles give better balance and let you use the gas-brake-coast rhythm on both sides of your body, which is why most hikers and nearly all trekking pole brands design around a pair.
A single pole or a wooden hiking staff still helps on moderate terrain and is better than nothing, but it cannot match a matched pair for steep climbs or descents.
How do you carry trekking poles when you are not using them?
Collapse them to their shortest length and secure them under a compression strap or in dedicated pole loops on your pack, tips pointed down and away from your body.
Avoid letting collapsed poles dangle loose from your wrists during a scramble; a swinging pole is a trip hazard for you and anyone hiking close behind.
The Adjustment You’ll Actually Make
Skip the strap thread and the length adjustment, and trekking poles are just two more things to carry up a mountain. Do both, and the trekking pole earns its spot next to your hiking layers and footwear as gear that changes how a trail feels, not just what you look like on it.
Most people who give up on poles quit on flat ground, where the benefit barely shows. Give them one real climb and one real descent before deciding, and check the National Park Service’s hiking safety guidance if that descent is longer or more remote than your usual trail.