Most people who try skiing for the first time spend the night before convinced they’re about to embarrass themselves on a mountain. That anxiety is completely normal — and almost entirely unfounded. Skiing is a learnable skill at any age, and the gap between “total beginner” and “confidently cruising a green run” is smaller than most people expect.
The tips for first time skiing that actually make a difference aren’t just about technique. They’re about showing up prepared — knowing what to wear, what to rent, how a lesson works, and what a realistic first day looks like hour by hour. Fear, fatigue, and ill-fitting boots cause more problems on day one than any lack of natural talent.
Gear and rentals, a real first-day timeline, beginner technique fundamentals, safety and injury prevention, mental preparation, resort selection, and a transparent budget breakdown — consider this the briefing that most first-timers wish someone had given them before they ever saw snow.
What to Wear and Rent Before You Hit the Slopes
For a first ski trip, rent everything — skis, boots, and poles — and focus your spending on warm, waterproof clothing you’ll use again. A standard rental package covers all the hardware you need, costs a fraction of buying, and frees you from committing to gear before you know what you prefer. Get the clothing system right and the rental boots fitted correctly, and you’ll spend the day focused on skiing rather than fighting discomfort.
Renting vs. Buying Gear as a Beginner
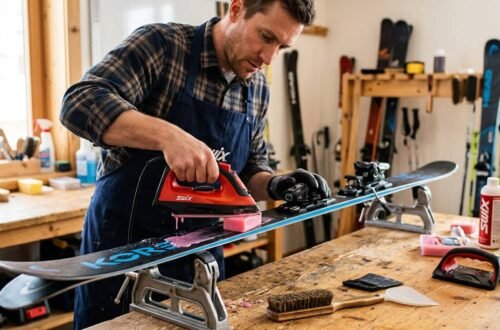
Ski equipment is expensive, highly technical, and deeply personal — two good reasons not to buy any of it before your first run. A typical resort rental package includes skis sized to your height and ability, boots, and poles, usually for $40–$70 per day depending on the resort and package tier.
Booking rentals online in advance is one of the simplest ways to save both money and time. Most major resorts and third-party rental services offer 20–30% discounts for pre-booking, and you’ll skip the morning queue that can swallow 45 minutes of prime snow time.
Demo or “performance” rental upgrades aren’t worth it on your first day. Standard beginner packages are deliberately tuned for slower speeds and easier control — exactly what you want when you’re learning.
How to Get Ski Boots That Actually Fit
Ill-fitting ski boots are the single most common reason beginners have a miserable first day. A boot that’s too loose allows the foot to slide, destroying your ability to steer; too tight, and you’ll lose circulation within an hour.
- Wear a single pair of thin, moisture-wicking ski socks — not thick hiking socks.
- Slide your foot in and kick your heel firmly to the back of the shell.
- Your toes should just brush the front when your leg is straight, then pull back slightly when you flex your knees forward.
- Buckle from the bottom up, snug but not crushing; the heel should feel locked with zero lift.
- Walk a few steps. If your heel rises noticeably, ask for a half-size smaller.
Visit the rental shop before doing anything else on arrival. Boot fitting done properly takes time, and a rushed fit at 9:45 AM before a 10:00 AM lesson is a near-guarantee of foot pain by noon.
Layering and Clothing Essentials
The three-layer system works because it manages moisture, insulation, and weather protection independently. Each layer has a specific job, and skipping one — especially the base layer — is a mistake beginners consistently make.
| Layer | Purpose | Best Materials | Avoid |
|---|---|---|---|
| Base layer | Wick sweat away from skin | Merino wool, synthetic polyester | Cotton — holds moisture, causes chills |
| Mid layer | Trap body heat | Fleece, lightweight down vest | Heavy sweaters — too bulky under a shell |
| Outer shell | Block wind, snow, and moisture | Waterproof ski jacket and ski pants | Jeans, non-waterproof softshells |
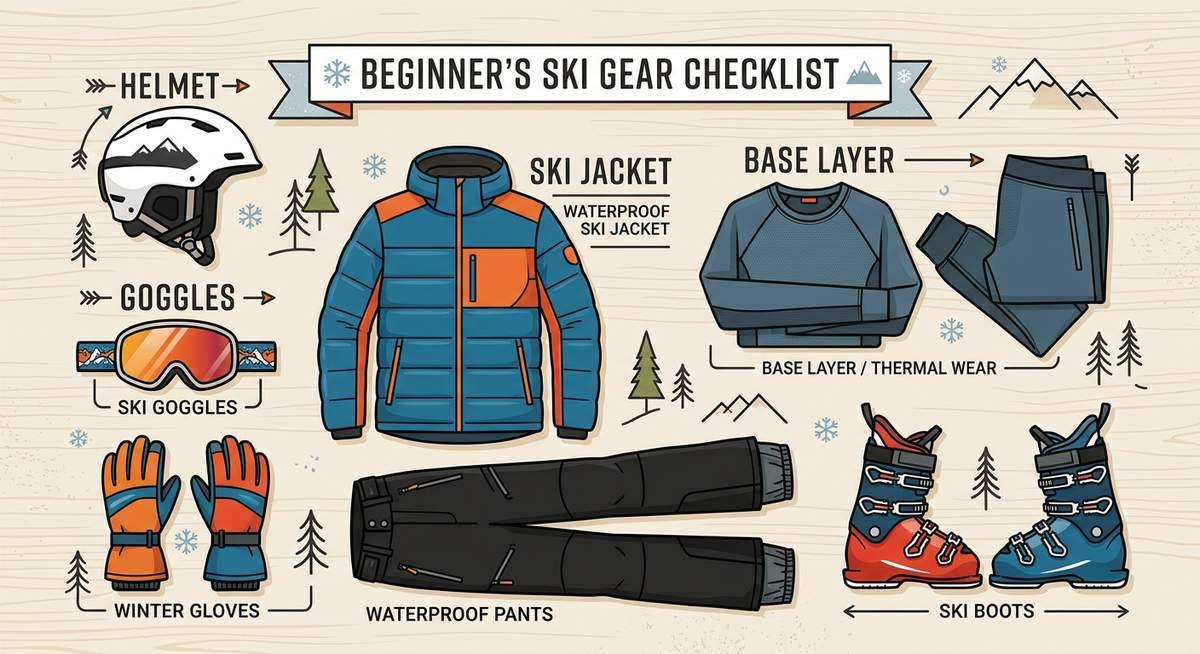
Beyond the three layers, a few items are non-negotiable: a properly fitted helmet (not optional — most resorts rent them), goggles for UV protection and visibility in flat light, waterproof gloves or mittens, and thick ski socks that reach mid-calf. Leave the fashion ski headband at home until you’ve confirmed the helmet fits over it comfortably.
Your First-Day Timeline: What to Expect Hour by Hour
A realistic first day on the mountain runs from roughly 8 AM to 3 PM — not dawn to dusk. Beginners who plan a structured six-to-seven-hour window with built-in breaks consistently report a better experience and fewer injuries than those who wing it. Knowing what’s coming removes the anxiety of the unknown and lets you actually focus on learning.
Morning Arrival and Setup (8–10 AM)
Arrive early. Rental queues at busy resorts can stretch to 45 minutes or longer by 9:30 AM, and starting a lesson with pinching boots you haven’t had time to adjust is a miserable way to begin. If the resort offers a shuttle from satellite parking, use it — driving to the base lodge on a peak weekend often means 20 minutes of circling for a spot that doesn’t exist.
Head straight to the rental shop. Get boots fitted first, walk around in them for five minutes, and flag any pressure points before the technician mounts your bindings. Once skis are adjusted to your height and weight, locate the ski school meeting point — most resorts mark it clearly near the bunny slope — so you’re not scrambling at 10 AM.
Your First Ski Lesson (10 AM–12 PM)
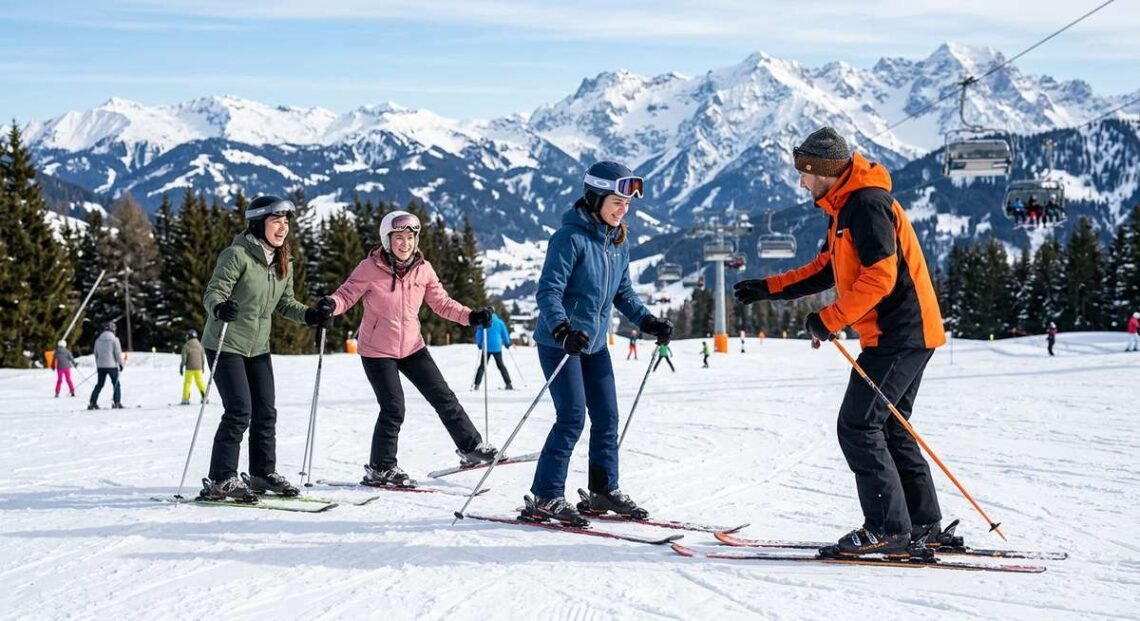
A standard beginner group lesson runs two hours and covers more than most people expect. Instructors typically start on flat snow — walking in boots, learning to sidestep uphill, getting comfortable with the skis underfoot — before introducing the pizza wedge for speed control and a gentle moving slope. No chairlifts, no steep terrain, no pressure.
Book the lesson in advance. Most major ski schools, including those operated by Vail Resorts and Alterra Mountain Company, allow online reservations and frequently sell out on weekends. Showing up hoping for a walk-in spot is a gamble not worth taking on your first day.
Lunch Break and Energy Reset (12–1 PM)
Take a full hour. Skiing is physically demanding in ways that sneak up on you — the cold suppresses hunger signals even as your body burns significantly more calories than a typical sedentary hour. A warm, protein-rich meal (chili, a burger, a hearty soup) stabilizes blood sugar and keeps leg muscles firing through the afternoon.
Remove your boots entirely during lunch. Ski boots restrict circulation, and 30 minutes of relief makes a measurable difference in how your feet feel at 2 PM. This single habit separates beginners who finish the day strong from those who tap out by 1:30.
Afternoon Practice and Knowing When to Stop (1–3 PM)
The afternoon is for consolidating, not conquering. Return to the bunny slope and repeat the movements from your lesson — wedge stops, gentle turns, controlled speed — without the pressure of instruction. Repetition in a low-stakes environment is how muscle memory actually forms.
Watch for fatigue signals: wobbly legs, slow reactions, or a sudden inability to hold your stance. These aren’t signs of weakness — they’re physiological warnings that your neuromuscular system is saturated. Pushing past them is precisely when falls and sprains happen. Stop at 3 PM, even if you feel fine. The mountain will be there tomorrow, and ending on a confident run beats ending on a tumble born of exhaustion.
| Time | Activity | Key Tip |
|---|---|---|
| 8:00–9:00 AM | Arrive, park, gear up | Use shuttle if available; avoid peak parking chaos |
| 9:00–10:00 AM | Rental shop — boot fit + skis | Go here first, before the queue builds |
| 10:00 AM–12:00 PM | Beginner group lesson | Pre-book online; expect flat-snow work first |
| 12:00–1:00 PM | Lunch + boot removal | Take boots off; eat warm and protein-rich |
| 1:00–3:00 PM | Solo practice on bunny slope | Stop when legs feel heavy — don’t push through fatigue |
Beginner Ski Technique: The Fundamentals That Actually Matter
Three skills will get you safely down a beginner slope: a stable stance, a reliable way to stop, and a basic turn. Master those and everything else builds naturally. Your instructor will demonstrate all of them in your lesson — understanding the mechanics beforehand simply means the movements click faster when you’re actually on snow.
The Athletic Stance: Your Foundation
Bend your knees, tip your shins gently into the front of your boots, and keep your hands low and forward — roughly at hip height, as if you’re about to catch something. Your weight should sit over the balls of your feet, not your heels.
Leaning back is the single most common beginner mistake, and it’s an instinctive one. Speed feels threatening, so the body recoils. The problem is that leaning back shifts your weight onto the tail of the ski, killing your ability to steer and actually accelerating the sensation of being out of control. Commit to forward shin pressure and the skis respond the way they’re designed to. Eyes up too — looking down at your tips is another reflex that works against you.
The Pizza Wedge: How to Slow Down and Stop
The snowplow — universally called the pizza wedge in ski schools — is how beginners control speed and stop. Push the tails of both skis outward so the tips point toward each other, forming a triangle. The wider and more pressured the wedge, the more friction you create and the slower you go.
- Start on flat or very gentle terrain with skis parallel.
- Push both heels outward simultaneously, keeping tips close together.
- Apply even pressure through the inside edges of both skis.
- To stop completely, widen the wedge and increase downward pressure until stationary.
Some beginners treat the wedge as a crutch to abandon as fast as possible. Professional racers still use wedge-based movements in specific technical drills. Build confidence in it first — parallel skiing will come in time.
Making Your First Turns
Turning is fundamentally about weight transfer. To turn right, shift pressure onto your left ski; to turn left, press into the right. The weighted ski becomes the pivot point and the skis follow.
| Technique Stage | What You’re Doing | When to Progress |
|---|---|---|
| Wedge glide | Holding a static pizza shape down the fall line | Once you can stop reliably every time |
| Wedge turns | Shifting weight left/right to steer while in wedge | After several confident runs on the bunny slope |
| Parallel turns | Skis side-by-side, edges engaged through the turn | Day two or three, guided by your instructor |
Don’t chase parallel turns on day one. The progression table above is a roadmap, not a race. Rushing to parallel before your wedge turns are solid is the leading cause of out-of-control intermediate skiing.
Safety, Slope Etiquette, and How to Fall Without Getting Hurt
Falls on a beginner slope are inevitable and, done right, almost entirely harmless. The instinct to brace with outstretched arms causes most wrist injuries on snow — learning to fall correctly removes the main risk from the equation.
How to Fall Safely
When you feel yourself losing control, resist the urge to fight it. Bend your knees, lower your center of gravity, and aim to land on your hip or the padded seat of your ski pants — not on your hands. Tuck your arms in toward your body. Most beginner falls at slow speeds are more undignified than dangerous; the hard landings come from stiff bodies fighting the fall.
Getting up after a fall is its own skill. Roll onto your side so your skis are perpendicular to the slope. Use your poles planted uphill to push yourself up, keeping your weight forward once standing. Trying to stand with skis pointing downhill is a guaranteed second fall.
Slope Safety Rules Every Beginner Needs to Know
The FIS Rules of Conduct — the international standard observed at virtually every ski resort — place responsibility for collision avoidance on the skier coming from above. Faster skiers must yield to slower skiers and stationary people below them. As a beginner, you have right of way from those above; watch for those merging from the sides.
- Never stop in the middle of a slope or just below a crest where you’re invisible to oncoming skiers.
- When merging onto a run or pulling out from a rest area, look uphill first — always.
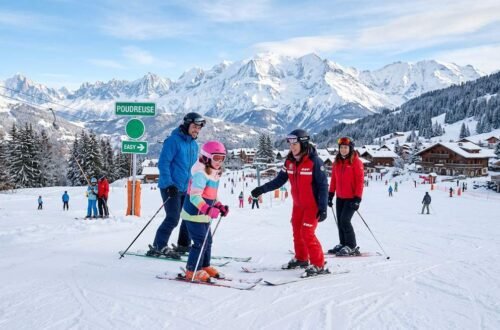
- Green runs (marked green or with a circle in North America) are the appropriate terrain for your first day; blue and black runs are not.
- Wear your helmet. A study published in the British Journal of Sports Medicine found helmet use reduces head injury risk by approximately 35% in skiers and snowboarders.
Choosing the Right Resort for Your First Time
The best resort for a first-timer is not necessarily the most famous or the most scenic one. Terrain mix, ski school quality, and beginner-specific infrastructure matter more than vertical drop or après-ski reputation.
What to Look for in a Beginner-Friendly Resort
A beginner-friendly resort has a dedicated learning area — ideally a flat or very gently inclined zone, separate from main traffic, with a magic carpet or slow surface lift (not a chair lift) to return you to the top. Trying to learn on a chairlift before you can ski confidently adds unnecessary complexity to an already information-heavy day.
Look for a certified ski school with PSIA (Professional Ski Instructors of America) or CSIA (Canadian Ski Instructors’ Alliance) accreditation. Resorts that rank their instructor programs publicly tend to invest more in quality. Good ski schools also offer “learn-to-ski” packages that bundle a lift ticket, rentals, and a lesson at a meaningful discount over buying each separately.
Key Factors Compared for First-Timer Resort Selection
| Factor | What Matters for Beginners | Red Flag |
|---|---|---|
| Beginner terrain | Dedicated green run area, magic carpet lift | No separate learning zone; bunny slope on main mountain |
| Ski school | PSIA/CSIA certified, online booking, package deals | Walk-in only, no certification listed |
| Crowds | Weekdays or shoulder season (late January, early March) | Holiday weekends — queues triple and lessons sell out |
| Rental shop | On-site or pre-bookable online with fitting staff | Off-site only; no online reservation |
| Proximity | Within comfortable driving distance for a day trip | Long travel adds fatigue before you even ski |
Day-trip proximity is underrated. A resort two hours away that suits beginners perfectly beats a famous destination six hours away where the beginner terrain is an afterthought bolted onto a race-focused mountain.
How Much Does a First Ski Trip Actually Cost?
Skiing has a reputation for being expensive — and to be fair, a first-timer’s day at a major resort can run $200–$350 per person before accommodation. Understanding exactly where that money goes lets you spend it wisely and find the real savings.
| Expense | Typical Range (per person) | How to Save |
|---|---|---|
| Lift ticket | $80–$180 | Buy 7+ days in advance; bundled in learn-to-ski packages |
| Ski rental (full package) | $40–$70 | Pre-book online for 20–30% off walk-up rates |
| Helmet rental | $15–$25 | Often included in full-day rental packages |
| Group ski lesson (2 hrs) | $60–$120 | Part of learn-to-ski packages; cheaper mid-week |
| Food and drink on mountain | $25–$50 | Pack snacks and a refillable water bottle |
| Clothing (if buying) | $100–$300+ | Borrow from friends; check secondhand gear sites |
| Realistic day total | $200–$350 | Learn-to-ski packages often bundle lift + rental + lesson for ~$150–$180 |
Learn-to-ski packages are the single best value for a first-timer. Most major North American resorts offer them and the bundled pricing typically saves $50–$80 compared to buying each component separately at the window. Book midweek if the calendar allows — prices drop noticeably and queues shrink dramatically.
Avoid booking accommodation directly adjacent to a famous resort for your very first trip unless budget is not a concern. Staying 20–30 minutes away in a nearby town cuts lodging costs by 40–60% and lets you drive in after peak parking chaos has cleared.
Managing Fear and Building Confidence Before You Go
Physical preparation for a first ski day matters far less than mental preparation. The skiers who have the best first days aren’t the ones who have been to the gym — they’re the ones who arrive with calibrated expectations and a willingness to look silly for an hour before it clicks.
Expect the first 30 minutes to feel awkward and unnatural. Ski boots are stiff and constrictive, skis are long and unruly on flat surfaces, and your brain is processing a flood of unfamiliar physical cues. That cognitive overload eases faster than you’d think — usually within the first hour of instruction.
Manage fear of speed by embracing the wedge. The pizza stop is your emergency brake, and knowing you can stop at any moment removes most of the anxiety about moving downhill. Practice stopping on flat ground before you ever point yourself down a slope. Once the stop is automatic, the fear recedes.
Adults often struggle more than children with the self-consciousness of public failure. Children fall thirty times and laugh. Adults fall twice and catastrophize. Remind yourself that every competent skier on that mountain was once a beginner making the same pizza wedge on the same gentle slope — and that the instructors and lift operators have seen ten thousand first days. Nobody is watching you fail. They’re watching you learn.
Frequently Asked Questions
How long does it take to learn to ski as a beginner?
Most adults can ski a gentle beginner slope (a green or easy blue run) with reasonable confidence after two to three days of lessons. The first day covers the fundamentals — stopping and basic turns. By the end of day two, most beginners are linking turns consistently. Parallel skiing typically develops over several days or a full week of practice.
Is skiing hard to learn for adults?
Skiing has a steeper initial learning curve than many sports but plateaus quickly. The first two hours feel disorienting — boots, skis, and snow are all unfamiliar surfaces. After a solid beginner lesson, most adults describe the sensation as clicking into place surprisingly fast. Adults learn more cautiously than children but often absorb technical instruction better.
What should a first-time skier avoid?
Avoid skiing without a lesson, heading onto runs above your ability, wearing cotton clothing, renting without fitting boots properly, and skipping the lunch break. Trying to progress to chairlifts or blue runs before mastering a controlled stop is the most common way first-timers end a day early with a sprained wrist or bruised confidence.
Do you need to be fit to ski for the first time?
Basic fitness helps, but beginners don’t exert themselves at race intensity. A first day on gentle terrain is more tiring than walking but less demanding than a run. Stronger leg muscles (quads especially) give you more endurance on the slope and reduce soreness the next day. If you can walk up several flights of stairs without difficulty, you’re fit enough for a beginner ski day.
Is skiing or snowboarding easier to learn first?
Skiing has a faster initial learning curve — most people can make controlled stops and basic turns by the end of their first lesson. Snowboarding is harder to get started (the first two days involve a lot of falling on wrists and knees) but some people find it feels more natural once the balance clicks. If you want to have fun on day one, skiing is generally the easier starting point.
What is the best age to start skiing?
There is no best age — skiing is learnable at any age. Children as young as three can start in dedicated toddler programs. Adults learn more slowly than children in terms of fearlessness, but adults follow verbal instruction better and tend to take fewer unnecessary risks. Skiers who start in their 30s, 40s, and 50s become proficient, confident skiers all the time.
How fast do beginner skiers go?
Beginner skiers on a gentle green run typically travel at 5–15 mph (8–24 km/h) — roughly jogging pace at the lower end, cycling pace at the upper end. Speed builds naturally as technique improves. On day one, focus on control rather than speed; the mountain has plenty of steeper terrain waiting for when control is fully established.
Ready for the Mountain
A successful first day on skis comes down to a handful of decisions made before you clip into the bindings: arrive early, get boots fitted properly, book the lesson in advance, dress in layers, and build in a real lunch break. The technique — pizza wedge, athletic stance, weight transfer — takes an hour of practice to start feeling natural. The logistics take planning.
Pick a beginner-friendly resort with a dedicated learning area and a certified ski school. Budget realistically for lift ticket, rentals, and a lesson. Expect the first run to feel clumsy and the fifth to feel different. Most beginners end day one surprised by how quickly the movement pattern clicked — and already calculating when they can come back.
The mountain is more patient than you think. So are your legs. Show up prepared and the rest follows.